2 Gel Press Cards
Today I’m creating 2 cards from 1 Gel Press panel created with acrylic paints & Altenew Feathered Leaves Stencil. As always products listed below.

If you follow me, you may have noticed I’ve fallen in love with Stardream Metallic Quartz Cardstock and I’m trying all the techniques out on it. So far, I’ve die cut it and used it for stencils, Copic colored on it, and today, I’m trying layered stamping with Altenew Wild Ferns Stamp & Die Bundle.
I don’t have any video footage or photos of making the Gel Press panel. I was merely playing around after my last attempts with alcohol inks. You can watch that video here.

I started by cutting the panel in half on the diagonal. I just eyeballed it by you could measure & mark it before trimming as well. Once the panel was cut, I cut an additional half inch off the cut edge of each piece.


This results in four pieces, 2 large and 2 half inch strips. Save those strips for the 2nd card. Next I cut 2 approximately 1/4 inch strips of Curious Metallic Aloe cardstock and adhered those to the diagonal edge of the large panels. Trim the ends once adhered to the panels.

I cut a piece of Stardream Metallic Quartz cardstock to 4.25 x 5.5 inches, A2 size and laid the pressed panels on the card front to align my sentiment correctly in the MISTI. I stamped my sentiment with Simon Says Stamp Soft Navy ink.
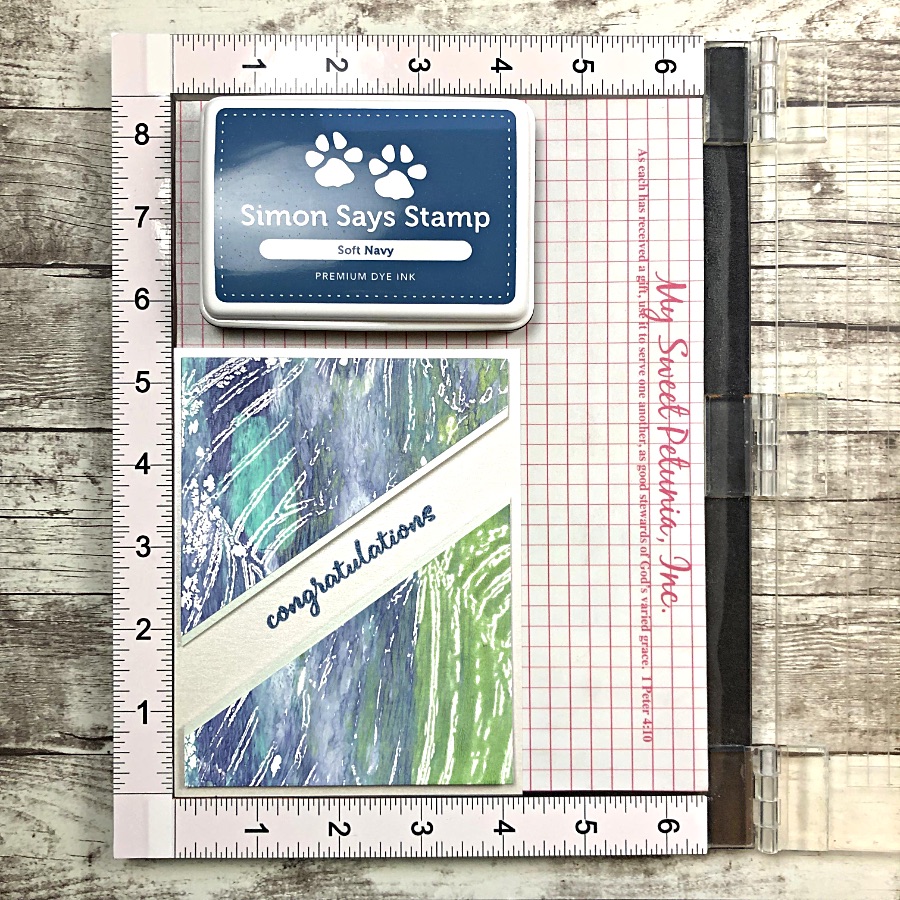
I backed the large panels with stick back fun foam and adhered them to the stamped card panel.

Next up I stamped 3 leaves onto the metallic cardstock with Altenew Wild Ferns Stamp Set.
Tip: Metallic cardstock is coated so ink sits on the surface vs. absorbing. This means it takes longer to dry. Heat set it or let it sit to completely dry before die cutting.

Once completely dry, I die cut the ferns and popped them up on the card panel. I only used 2 as 3 seemed too busy with the background. The inks appear soft and shiny on the metallic cardstock. So beautiful in real life & very challenging to see in photos!

As usual I didn’t want to waste those 2 strips, so I squared off the ends by trimming off the diagonal corners & cut each strip in half lengthwise.

I stamped a sentiment with the same Soft Navy ink and popped up each of the strips with Darice Foam Adhesive Strips. Finally, I adhered it to an A2 sized card base. That’s it, 2 cards done.

I hope you enjoyed these cards today and give this 2 for 1 design a try as well as stamping on Stardream Metallic Cardstock. Thanks so much for stopping by! Go get creative and remember to Breathe · Ink · Inspire.
Products listed below.
Supplies


